Wednesday, October 19, 2011

my favorite apple cake


Chilly, blustery fall has replaced warm, sweet fall around here, at least for the time being. And it's so funny how tastes can change with the weather, isn't it? A month ago, the idea of a spicy curry or hot tea, or ooh, warm macaroni and cheese, would have sounded completely unappetizing, but now, now these things are all I think about--all I want.


 I want warm, spicy, creamy and savory. I want cinnamon, ginger, nutmeg, and cloves. Apples, winter squash, pumpkin, cranberries. Oatmeal. Chili. It's like as soon as the temperature drops, the things I've been eating for the last six months just don't cut it anymore. Smoothie? No. Cucumbers? Meh. Salad? Nope. It's comfort season.


We hear the word comfort used in many different contexts, regarding any number of different things. And they are different for everyone, think about it. Two of my favorites are food and family--and if you know me at all, you're not a bit surprised that I'm writing this. I am fortunate enough to live pretty close to my family at this point in my life--and when I'm able to go back home and spend time, and we're all together, I'm always reminded that the deep love that I find there is one of the best things there is. Home is something that will always be the same. And no matter how our lives change, or where our paths lead us on this earth, we know we'll always come back, to be with one another, to share, to remember...for good hugs and good laughs, and good food. Comfort at its absolute best, as far as I can tell.


When I was back last time, I got to spend a lazy afternoon with my sisters, baking, and making our whole house smell like brown sugar and cinnamon...mmmm. The day was perfect for it, cool and windy, the kind of day you want to spend being cozy and coming to terms with the fact that winter really is on the way again. And really, there was no place in the world I would rather have been than that kitchen.

Our apple trees gave us a great crop this year, and they were spilling out of every fridge space in our house, so they were the obvious choice for baking inspiration. So we made cake. My favorite apple cake in the world. The kind of cake that is so good by itself that it doesn't need anything else--no ice cream, no frosting, no nothing. Just maybe a glass of milk.


It's fall and love and comfort in your face. It's really just that fabulous--big chunks of apple, lots of warming spices, soft and sweet...ooh, everything that makes an apple cake worth eating. And just what we need to make the cold okay again.


My Favorite Apple Cake

adapted from the lovely Smitten Kitchen

6 apples (we used Haralsons)
1 tablespoon cinnamon
1/2 teaspoon nutmeg
1/2 teaspoon ginger
1/4 teaspoon cloves
3 tablespoons sugar

2 3/4 cups flour, sifted
1 tablespoon baking powder
1 teaspoon salt
1/2 cup coconut oil
1/2 cup butter, melted
1 1/4 cups sugar
1/4 cup orange juice
2 1/2 teaspoons vanilla
4 eggs
1 cup walnuts, chopped (optional)

Preheat oven to 350 degrees. Grease a tube pan. Peel, core and chop apples into chunks--made sure to keep the chunks pretty big. Toss with spices and sugar and set aside.

Stir together flour, baking powder and salt in a large mixing bowl. In a separate bowl, whisk together oil, orange juice, sugar and vanilla. Mix wet ingredients into the dry ones, then add eggs, one at a time. Scrape down the bowl to make sure all ingredients are incorporated.

Pour half of batter into prepared pan. Spread half of apples over it. Pour the remaining batter over the apples and arrange the remaining apples on top. Bake for about 1 1/2 hours, or until a tester comes out clean. Cool in the pan for a bit, and then remove it to cool completely. Oh, and guess what? It's even better the next day!


 "Swinging on delicate hinges
the autumn leaf
almost off the stem"
-Jack Kerouac


And I want you to come over for tea.
--ginger 

Friday, October 7, 2011

apple galette


Creativity takes over when you have to improvise, you know? When you're set on getting something accomplished, but find that somehow you don't have quite the resources you need, you have to call upon imagination...you have to explore different ways to get where you're going.

This is kind of how we stumbled on the idea of galette. We had fruit, pie pastry, and ample motivation...but no pie pan. And so we discovered the fabulousness that is galette. It was one of those happy mistakes that turned out well--those are the best kind, aren't they?


 So it sounds fancy, at least I think so, but I've decided that just because the word itself is French. But the reality, and really the charm of galettes, is that they are absolutely the opposite--they are incredibly simple. Rustic, even. Yes, I think that is the perfect word to describe them... 

Rus-tic:  1. Charmingly simple or unsophisticated
              2. Having a simplicity and charm that is considered typical of the countryside.

Hmm..I think I need more rustic in my life. It sounds perfect.  

A galette is somewhere between a pie and a tart...but very free-form and easy. There is no crimping or trimming or smoothing. It's kind of a lazy way to make pie--but still every bit as delicious, and still pretty to look at, I think. Especially since I like rustic things.


Since it's the season of apples and cinnamon, the decision to use them as the filling for this version of my lazy pie was an easy one. And oh my, did it smell wonderful baking.


Simple Apple Galette

Dough: (you can use this or your favorite recipe for a one-crust pie pastry)
1 cup unbleached all-purpose flour
1/2 teaspoon sugar
1/8 teaspoon salt
6 tablespoons (3/4 stick) unsalted butter, just softened, cut in 1/2-inch pieces
3 1/2 tablespoons chilled water

Filling:
2 pounds apples (tart, firm, and fresh), peeled, cored (save peels and cores), and sliced
1 teaspoon cinnamon
1/2 teaspoon nutmeg
1/8 teaspoon cloves
2 tablespoons unsalted butter, melted
5 tablespoons sugar
 
Glaze:
1/2 cup sugar

For Dough:  Mix flour, sugar, and salt in a large bowl; add 2 tablespoons of the butter. Blend in a mixer until dough resembles coarse cornmeal. Add remaining butter; mix until biggest pieces look like large peas.

Dribble in water, stir, then dribble in more, until dough just holds together. Toss with your hands, letting it fall through your fingers, until it’s ropy with some dry patches. If dry patches predominate, add another tablespoon water. Keep tossing until you can roll dough into a ball. Flatten into a 4-inch-thick disk; refrigerate. After at least 30 minutes, remove; let soften so it’s malleable but still cold. Smooth cracks at edges. On a lightly floured surface, roll into a 14-inch circle about 1/8 inch thick. Dust excess flour from both sides, and place on a parchment-lined baking sheet.

To Assemble:  Heat oven to 400°F. (If you have a pizza stone, place it in the center of the rack.)Toss apples with spices and 3 tablespoons sugar. Mound apples on dough in a ring 2 inches from edge. Fold dough up and around the mound of apples, making sure to wrap the filling snugly. Brush melted butter over apples and onto dough edge. Sprinkle the remaining 2 tablespoons sugar over dough edge.
 Bake in center of oven until apples are soft, with browned edges, and crust has caramelized to a dark golden brown (about 45 minutes), making sure to rotate the pan every 15 minutes. Make the glaze while the galette bakes) Remove from oven, and slide off parchment onto cooling rack. Let cool at least 15 minutes.

For Glaze:  Put reserved peels and cores in a large saucepan, along with sugar. Pour in just enough water to cover (not too much water!), simmer for 25 minutes. Strain syrup through cheesecloth. Brush glaze over tart, slice, and serve...probably with really good vanilla ice cream. Keep it simple, right?


 ooh, October is my favorite.

--ginger


Wednesday, September 28, 2011

chocolate avocado cake


So this has been coming for quite a while.

I did something crazy. It involved avocados.


And cake.

Chocolate cake. With avocados?

So you want to know, why would I want to mess with a perfectly good thing, and taint it with my bizarre additions? Well...because I can.

Are you skeptical? Because you should be. I kind of was.


And also, there's a life lesson to be learned here--you don't get far without taking risks, right? I took a risk on chocolate cake. With green frosting. It was for my half-birthday, so I had to do something weird...because it's weird to celebrate your half-birthday...right? I've certainly never done it before!

The cake is really great, actually--it is dense and soft and moist, all things good cake should be. What it comes down to, with the avocado in the batter, is that it's simply the fat source, like instead of butter, for example. You all know I have absolutely nothing against butter, but using avocado in it's place seemed like an interesting twist. And it worked, oh yes it did. You honestly can't taste it in the cake at all--like if you fed this to unsuspecting avocado-haters, they would never know what you'd gotten past them. My one complaint is that it's not quite chocolatey enough, so I'm thinking more cocoa powder or some melted chocolate might be a good addition next time. Maybe some coffee, too?

As for the frosting, yes, the avocado buttercream. Yes, this happened.


 Same idea here, it was a pretty basic butter frosting recipe...minus the butter.

But plus avocado, hooray! ...hooray?

The result was a very green frosting, with an interesting flavor, to say the least. Lemony, but sweet, and with a distinct avocado flair. The haters wouldn't like this so much. Kind of looks like slime, don't you think?

Oh, so last thing that is kind of interesting--this cake is actually vegan. Yes, vegan--it may be the first thing I have baked that can be categorized as such. No butter or eggs? Nope. Just an interesting fact! Also, this does not mean I am becoming a vegan. Just to clarify!


Chocolate Avocado Cake (or just Chocolate Cake...with cleverly hidden ingredients)
adapted from Joy the Baker

3 cups all-purpose flour
6 Tablespoons unsweetened cocoa powder
1/2 teaspoon salt
2 teaspoons baking powder
2 teaspoons baking soda
1 3/4 cups granulated sugar
1/4 cup vegetable oil (I used coconut oil)
1/2 cup soft avocado, well mashed, about 1 medium avocado
1 cup water
1 cup strong brewed coffee, at room temp.
2 Tablespoons white vinegar
2 teaspoons vanilla extract

Preheat oven to 350 degrees F.  Grease and flour two 8 or 9-inch rounds.  Set aside.

Sift together all of the dry ingredients in a big bowl, except the sugar. Mix all the wet ingredients together in a bowl, including the mashed avocado. Add sugar into the wet mix and stir. Combine the wet with the dry all at once, and beat with a whisk (by hand) until smooth. Pour batter into a greased cake pans. Bake for 25-30 minutes, or til a toothpick inserted in the middle comes out clean. Let cakes cool in pan for 15 minutes, then turn out onto cooling racks to cool completely before frosting with avocado buttercream.
 

Avocado Buttercream
from Alton Brown

8 ounces of avocado, about 2 small to medium very ripe avocados
2 teaspoons lemon juice
2 cups powdered sugar, sifted
1/2 teaspoon vanilla extract

Peel and pit the soft avocados.  It’s important to use the ripest avocados you can get your hands on.  If the avocados have brown spots in the meat, avoid those spots when you scoop the meat into the bowl.
Place the avocado meat into the bowl of a stand mixer fit with the whisk attachment.  Add lemon juice and whisk the avocado on medium speed, until slightly lightened in color and smooth, about 2-3 minutes.
Add the powdered sugar a little at a time and beat.  Add vanilla extract until combined.  If not using right away, store in the refrigerator. It won't turn brown because of the lemon juice, so don't worry!


Soooo...maybe just straight-up chocolate frosting next time. Yeah probably.

Also, this is the best time of the year. No question. It smells like apples and cinnamon, drinking tea suddenly seems like the right thing to do, and the color orange is everywhere. I hope you're all enjoying it as much as I am!


"Autumn is a second spring where every leaf is a flower"
      -Albert Camus


--ginger


Saturday, August 27, 2011

love and food and pictures.


oh HI!

You were starting to think I was gone for good, weren't you? I mean, the last time I think I wrote to you, I said I was off to Alaska, right? And you probably just figured I decided not to come back...which makes sense. And I definitely thought about staying, let me tell you. But it's too soon. Maybe someday. I'm totally going back, though...I'm thinking next year would be good. Alaska changed my life. Like really. But maybe I'll tell you about that another time. I have other things to write about today.

Like this, first of all--GUESS WHAT I got for Christmas?!

I know it's August, but Santa made an exception for me this year. It's cool, we're pals.

But wait, did you guess??

I can't wait any longer--I'm going to tell you...

I got a CAMERA!!! (three exclamation points and all caps = really freaking excited, if you didn't know)

CAMERA!!!
 This is like a real camera...one that has different lenses and so many different settings that it makes your head hurt. And I've wanted it for SO long. It's time to explore a new form of art.


 So now I'm going to start being that annoying person who goes around taking pictures of dirt and stones and walls just because I can...just so you know. Like if we ever go hiking together, you should definitely bring snacks, because it's probably going to take twice as long. Hopefully this doesn't discourage you from inviting me to go hiking with you...

Okay, time to change the subject--to food, of course, you were expecting this. So I don't think it will at all surprise you, but one of my favorite things to do with people is cook. I think there is just something so great about spending time creating something with another person and then getting to sit and enjoy it together. And I'm pretty sure one of the ways I show people I love them is through food. This works well.

sharing is the best
What I really love is to involve others in my cooking experiments. So yes, make them be guinea pigs. I think they tolerate me well, most of the time. Come spend an evening with me, and you'll very likely be subjected to some kind of interesting food. Don't be so intimidated, it usually turns out well. And it's always much fun.

This week's adventure:  homemade MARSHMALLOWS. That's right. I'm going to go there.


 I'd been thinking about these ever since I made my own graham crackers last week (so so good)--and, I mean, you get where my mind was going here--homemade smores. It was going to happen. And no, you're right, I didn't make the chocolate, but come on, do you know how to make chocolate?

the inspiration
So we made marshmallows! And it wasn't actually that difficult--but it was really cool to transform sugar into white fluff--you know you want to try, right? We really did it. And then there was, of course, marshmallow all over everything. But not just any marshmallow, homemade marshmallow--so it was fine.

 And then, then there were smores. Best smores of my LIFE--and we didn't even have a fire. We may have resorted to using the broiler to make them brown and toasty on top. And the marshmallow may have gotten all over our faces and fingers...and we may have slathered peanut butter on them as well...just saying, it was fabulous.


you so want to come over, don't you?

 Homemade Marshmallows
adapted from Alton Brown

Ingredients
3 packages unflavored gelatin
1 cup ice cold water, divided
1 1/2 cups granulated sugar
1 cup light corn syrup
1/4 teaspoon kosher salt
2 teaspoons vanilla extract
1/4 cup confectioners' sugar
1/4 cup cornstarch

Place the gelatin into the bowl of a stand mixer along with 1/2 cup of the water. Have the whisk attachment ready.

In a small saucepan combine the remaining 1/2 cup water, granulated sugar, corn syrup and salt. Place over medium high heat, cover and allow to cook for 3 to 4 minutes. Uncover, clip a candy thermometer onto the side of the pan and continue to cook until the mixture reaches 240 degrees F, approximately 7 to 8 minutes. Don't stir too much, or this will take forever. Also, be patient--it is very important for the sugar to get to this temperature! Once the mixture reaches 240, immediately remove from the heat.


 Turn the mixer on low speed and, while running, slowly pour the sugar syrup down the side of the bowl into the gelatin mixture. Once you have added all of the syrup, increase the speed to high. Continue to whip until the mixture becomes very thick and is lukewarm, approximately 12 to 15 minutes. It will get all white and fluffy and glossy--very sweet. Add the vanilla during the last minute or so of whipping. While the mixture is whipping prepare the pans as follows:  combine the confectioners' sugar and cornstarch in a small bowl. Butter or oil a 9x13-inch baking pan. Add the sugar and cornstarch mixture and move around to completely coat the bottom and sides of the pan. Return the remaining mixture to the bowl for later use.

at the beginning
sugar magic
When ready, pour the marshmallow mixture into the prepared pan, using a lightly oiled spatula for spreading evenly into the pan. Dust the top with enough of the remaining sugar and cornstarch mixture to lightly cover. Reserve the rest for later. Allow the marshmallows to sit uncovered for at least 4 hours and up to overnight. (We may or may not have done this)


 After they have had time to sit and firm up, turn the marshmallows out onto a cutting board and cut into 1-inch squares using a pizza wheel dusted with the confectioners' sugar mixture. Once cut, lightly dust all sides of each marshmallow with the remaining mixture, using additional if necessary. Store in an airtight container for up to 3 weeks. Make some people happy.


we'll talk again soon.
 --ginger

Monday, July 18, 2011

basil pesto

lots of basil. lots.
 Hi friends, welcome--it's been awhile, hasn't it? Well I've missed writing to you, did you know that? And, quite conveniently, I have some things to share with you and a bit of down time to actually make that happen--which is not the norm around here these days, let me tell you.

so much basil
 Summer has been so great--and it seems like, especially when the weather is nice, there is always something to do outside. I've even developed this weird guilt complex about it, like when the weather is beautiful, I can't bear to be indoors--even if I'm doing something productive--because I feel like I'm wasting the sunshine (and probably also because I still can't quite shake how awful that last winter was). The thing is, apparently you can't just go like crazy going on adventure after adventure and not taking time to just freaking sit down once in awhile. Well, I can't, I guess. I get tired--I know, really, ginger? ...and then I fall asleep at work because I did too much sweet stuff...acceptable? Ah, no.

 So right now I'm sitting. Even though a bike ride sounds fun, I'm going to stay here, resting and hanging out with you. Besides, I need to tell you about the pesto.


Sigh. I know, I know, you're thinking that making pesto with basil is just about as common and boring as it gets, but first of all, I had no idea what to do with all of my basil (there was so much), and second of all, pesto really is delicious--It tastes like summer. Also, there is so much you can do with pesto--so many things to smear it on and mix it in...that's where the creativity is!


So here's my pesto for you--and I think you should probably track down a large amount of basil sometime soon so you can make some. You won't regret it, I promise.

Basil Pesto

2 cups fresh basil leaves, packed
1/2 cup freshly grated Parmesan-Reggiano or Romano cheese
1/2 cup extra virgin olive oil
1/3 cup walnuts
3 medium garlic cloves
1 tsp. lemon zest (optional)
a healthy pinch of coarse salt
freshly ground black pepper to taste

Put the walnuts in a food processor and pulse a few times so they are coarsely chopped. Combine the basil with the nuts and pulse a few more times. Add the garlic, and yep, you guessed it, pulse again.
Next, turn on the food processor and slowly add the olive oil in a constant stream (do this while the motor is running--this is what makes the pesto smooth and creamy-ish). Stop to scrape down the sides of the food processor with a rubber spatula to make sure you don't miss any basil. Add the grated cheese and pulse again until blended. Finally, add the lemon zest, if you're using it, and salt and freshly ground black pepper to taste.
Mix into pasta, spread on good bread with homemade ricotta (a story for another time), use for pizza, or to top grilled chicken or fish, eat it on crackers, throw it in your eggs....you get the idea, be creative, you know I like that!


 This was the first spot my pesto ended up--on a little pizza with some feta and slices of the baby zucchini I found at the farmer's market.

cute, right?
I'd never had those things together before, but it was pretty great. It should be fun to figure out ways to use the rest of it!


Happy hot weather, friends, I'm off to Alaska!

--ginger

Wednesday, June 22, 2011

mojitos


Welcome to summer, friends. It's here, get excited.

It's officially the season for road trips, sand volleyball, water skiing, and sleeping under the stars. And no, I haven't done any of these things yet--have you? I have, however, gone on picnics, gotten caught in a summer rainstorm, hung out in a garden with my sketchbook, and taken up exploring on my bike, so I guess I've got a good start. Summer makes me free.

Except for the fact that I don't actually get summers off anymore. Sigh. Welcome to real life, I know...

In other news, Spoon has left me. Really. Like I haven't seen her in a week and a half. She even took the cat.

Okay, she didn't really just up and leave...I knew she was going. She's on an epic adventure--involving mountains, Mumford & Sons, white tigers, and the desert. Sounds fabulous, right? Yes. And I'm not completely certain, but as far as I know, at least, she's having a pretty fine time.

This is what she left me for. You're right, there's no competition.
 Regardless, I am selfish, and would like her to return from this adventure and take me out for ice cream. I would also like her to make me a margarita--she is better at it than I am...


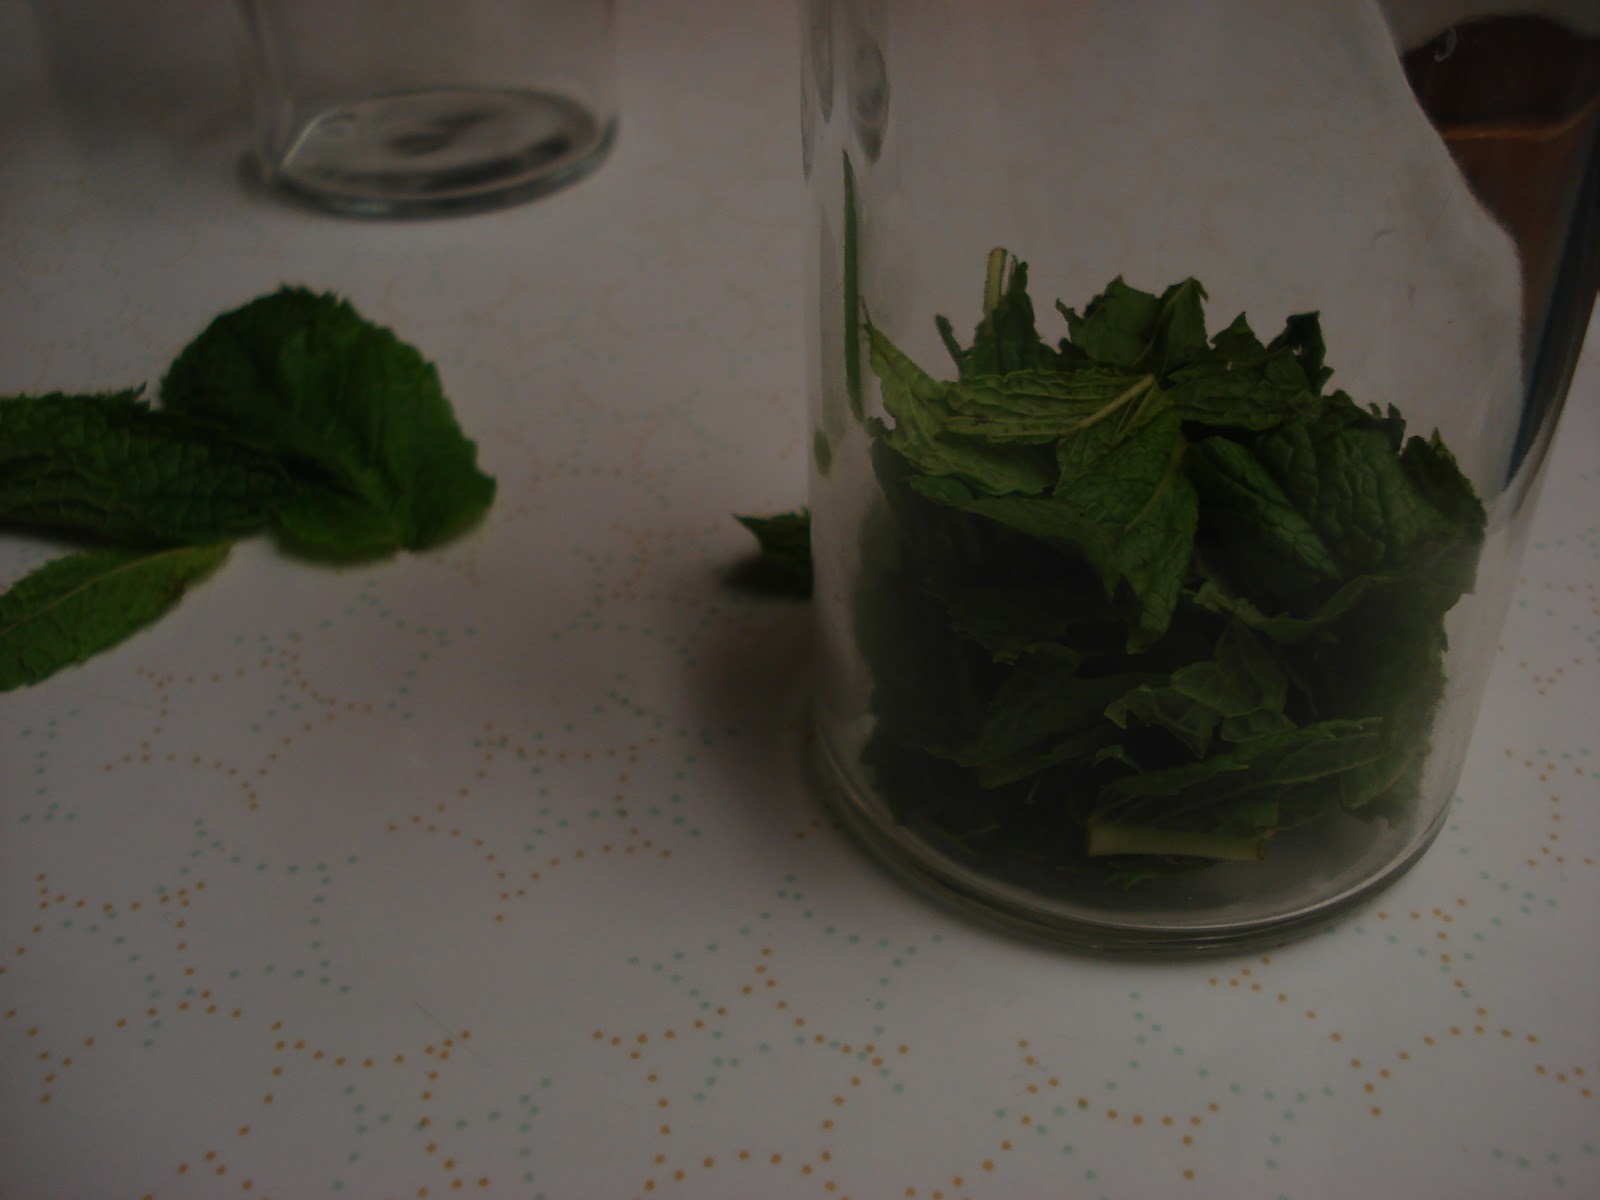
I can, however, make a pretty good mojito. Not that it's that difficult...mojitos are simply fresh mint and lime, muddled together with a bit of simple syrup, topped off with club soda, white rum, and crushed ice. Yeah, they're kind of girly, but mmmmm...so so tasty. And perfect for summer. Want to learn how to make them? It's really easy, and you get to muddle stuff--I'll show you!


Before I go on, I have to tell you about my first experience with mojitos, which was last summer. We drank them on the roof. Obviously, this was great fun, so naturally I now associate mojitos with summertime and happiness. I haven't yet figured out how to get on the roof of my current building, so that will have to be an adventure for another time. I'm sure there must be some way, though...


Anyway, we have our very own supply of mint, thanks to the mini herb garden that Spoon has planted out on the balcony, so there is ample supply for drink-making. We also thought it might be fun to play around with the mojito concept a bit, and put our own twist on it, which thus far has consisted of adding (what else?) rhubarb and/or ginger. Not like we ever get excited about those, right? If these combinations sound odd, you should know that both flavors worked beautifully with the mint and lime--fabulous and refreshing. There will be more mojito experiments to come, though...but not til Spoon returns to Minnesota.

Spoon, I don't think I can bear the thought of mojitos without you. Come back. I'll make us popcorn.

Mojitos

according to ginger and spoon, adapted from the folks at Bacardi

1/2 lime, cut into wedges12 mint leaves
1-2 Tbsp simple syrup, or to taste*
1 part white rum
3 parts club soda
crushed ice 


1. Tear up your mint leaves and put them in the bottom of a glass

2. Throw your lime wedges in with the mint, and add the simple syrup

3. Muddle everything together with a pestle--we don't have one of these, so we used the end of a big spoon. Make sure you muddle everything really well, so the flavors of the mint and lime really come out..this is important! We think this step is pretty fun, as well.


4. Add the rum, and top off with the club soda and the crushed ice. You can just use whole ice cubes, but the crushed stuff makes the drink colder faster, plus it looks better. It's also fun to make the crushed ice, especially when you use a hammer, as we've found.

5. If you're fancy, you can stick a lime on the side of the glass as a garnish. Otherwise, enjoy!

*simple syrup is really simple, ha--it is just equal parts water and sugar, heated until the sugar dissolves and then cooled. It's really just sugar-water, but it is better than just adding sugar to your drink, because this way the sugar is already dissolved.


Finally, the last time we made mojitos, I muddled my lime and mint with some ginger-rhubarb sauce that I had in the fridge--so like a rhubarb mojito (this is why it looks kind of weird in the picture). Spoon added fresh grated ginger to her lime/mint muddle, so hers was just a mojito + ginger. They were both fabulous--be creative, I'm sure we'll be thinking up more ideas in the future as well!


"There is no shortage of good days. It is good lives that are hard to come by. A life of good days lived in the senses is not enough. The life of sensation is the life of greed; it requires more and more. The life of the spirit requires less and less; time is ample and its passage sweet."
--Annie Dillard


--ginger